This is my Lightroom Workflow for making photos for use on any social media.
I will show you a before and after that I use primarily for landscape photos.
First, I export out the RAW files from something like iPhoto into a folder.
I drag the contents of this photo onto the Lightroom icon or open up the folder in Lightroom. I then select the photos I want to import. Then, I select a photo to edit.
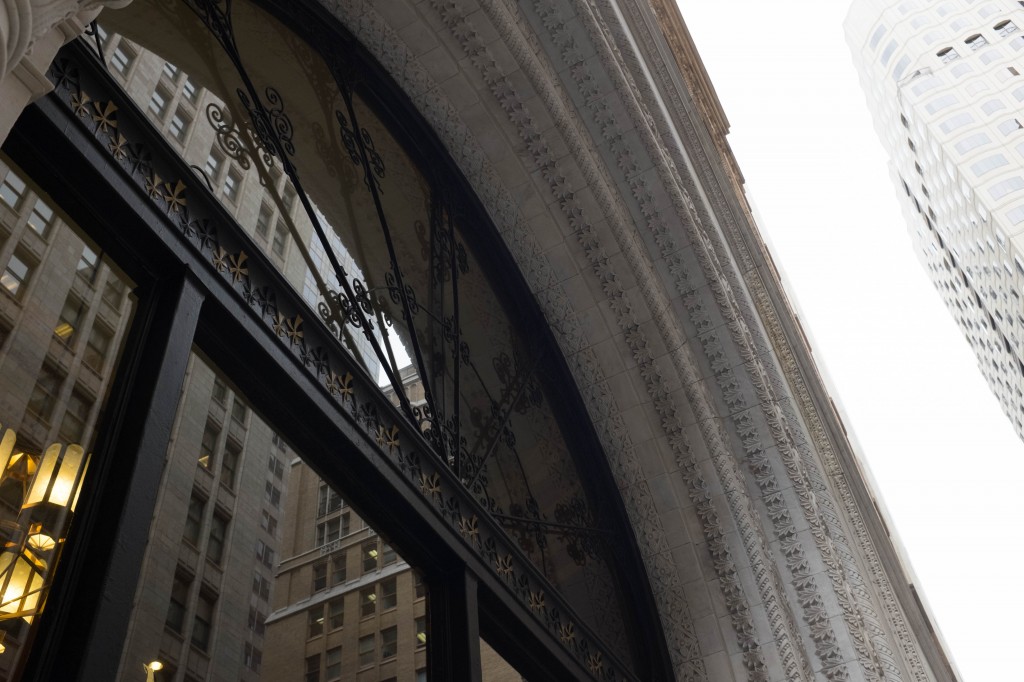
I will start out with this photo.
Next I do the following:
- click on “Enable Profile Corrections”,
- adjust white balance (This can really make or break a RAW photo but won’t do much in JPG),
- adjust contrast and exposure,
- adjust the tone curve, and
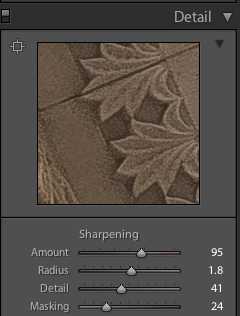
- adjust the sharpenss.
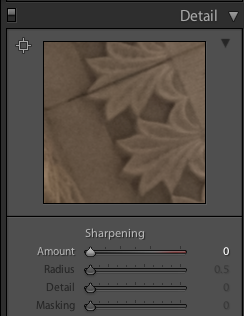
The first and last step are key. When you take a photo with a DSLR, the photos are not sharp but softly diffuse in RAW format. Without post-processing you cannot get the same kind of sharpness that you might from a film camera with the same setup as your digital camera. Here is a before and after showing just how important the sharpening step is.
Enabling the profile corrections will adjust any distortion that your lens causes, e.g. a curved instead of a straight horizon. In the past this was a painstaking process to fix that might take hours. Now you can fix it with the click of a button.
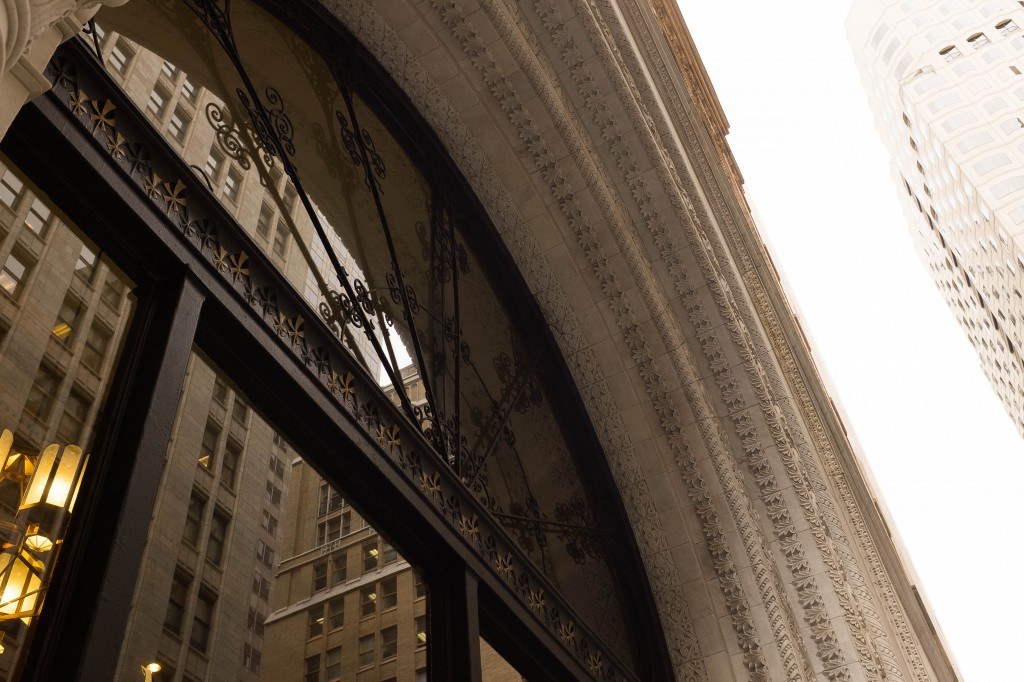
Here is the final image.


One thought on “Lightroom Workflow”