Taking the Shot
- High enough shutter speed? E.G. 1/1000 instead of 1/125 to remove motion blur. If you have to use a slow shutter speed, are you using image stabilization or a tripod? If you are using a tripod are using mirror lock up on a DSLR to prevent mirror slap?
- Stopped down enough to be sharp? Most zooms need to be stopped down 3 to 5 stops to achieve maximum sharpness, too wide or too narrow, then the image is too soft. Legendary Canon L, Zeiss or Leica lenses though do not have this problem.
- Is it a hazy day? Images are most sharp right after a storm. There’s no dust in the air.
- Are you using a polarizer? Sometimes this can sharpen an image.
- Are you using too many filters? Stacked filters degrade sharpness.
- Is your lens clean?
- Does your composition present a contrast between in focus and out of focus elements. An image looks sharper when there are actually some blurred parts, e.g. booked.
- Are you using film? If so, the lower the ISO, the less grain and the sharper the image is. ISO 100 is great for sharp portraits.
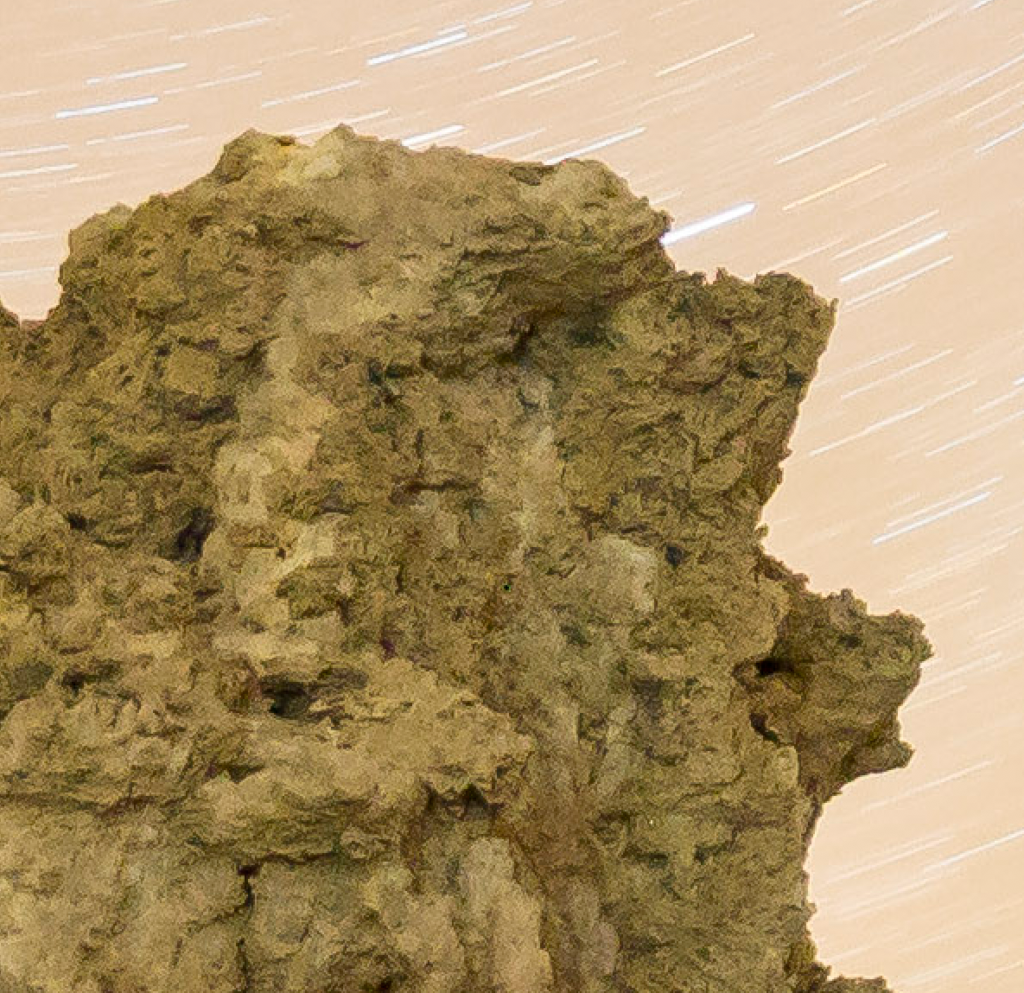
Before
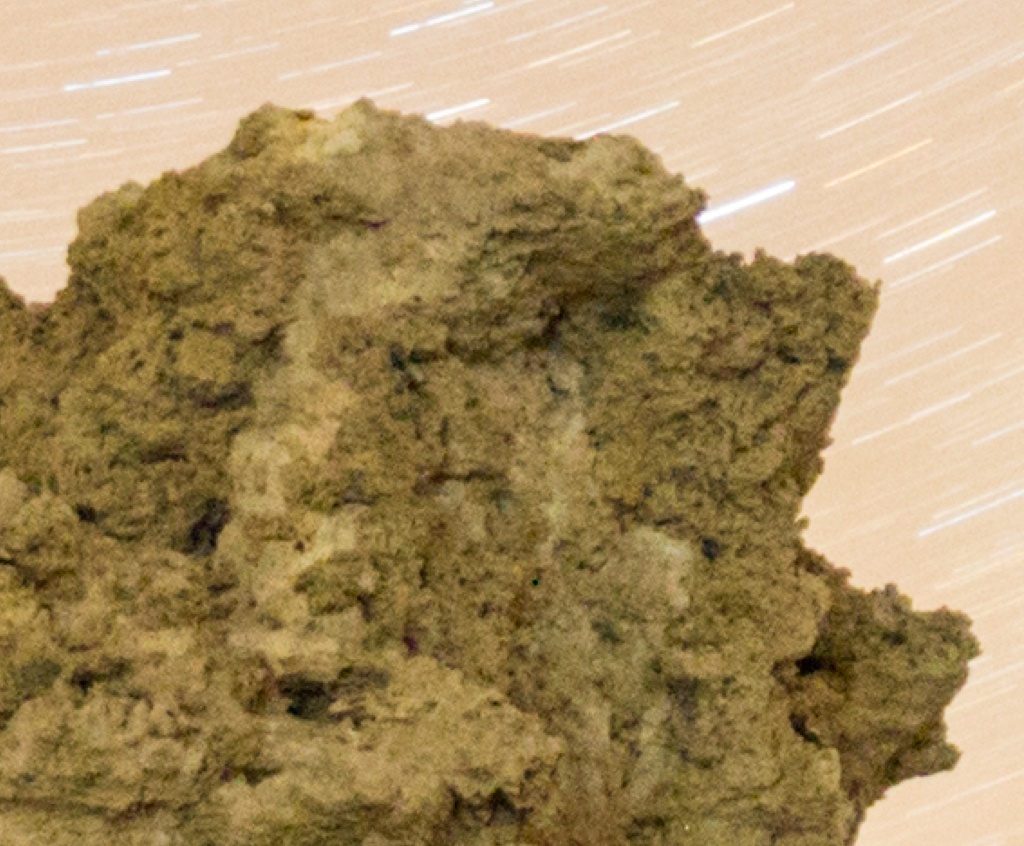
After

Try these settings for clarity, vibrance and saturation.
Post-Processing the Shot
- Clarity: 37
- Vibrance: 14
- Saturation: 7
Be sure to use sharpening. In the blog post below, you’ll see why:
YMMV, and these settings are what I use for golden hour. Milky way, or other scenes will have different settings.
If you are posting to Facebook, you need to use Photoshop, and use the sharpen filter twice.
If you are posting to Instagram, you need to be aware that Instagram might actually degrade images.
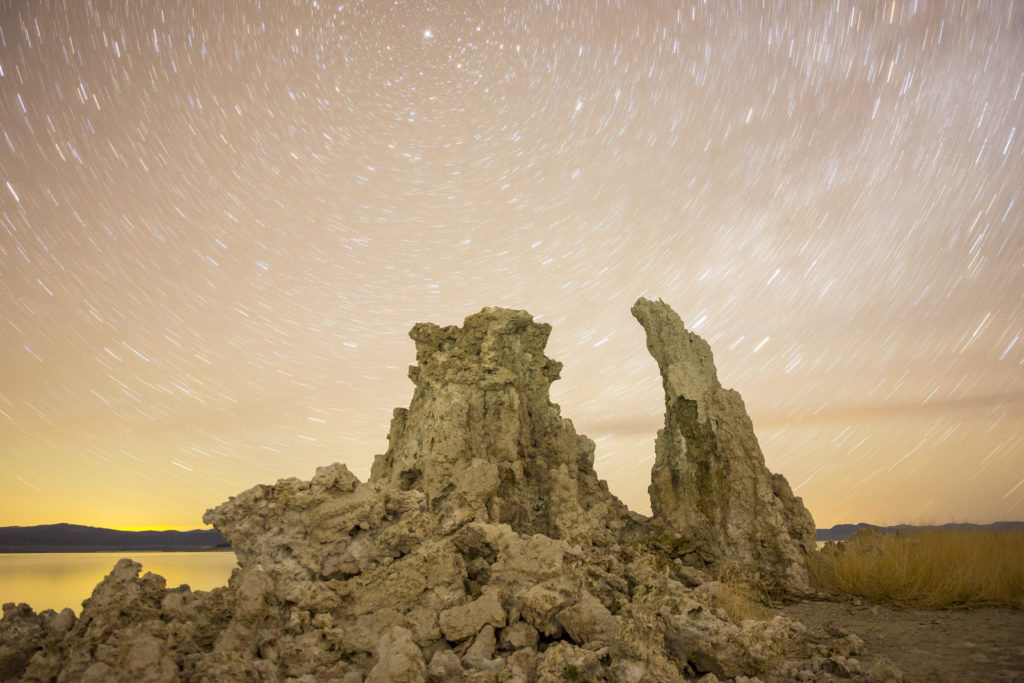
Here’s the final product of a 600 second long exposure using a 16mm Rokinon lens at f/2.0, ISO 1600, on my old, but trusty Canon T3i.
Mono Lake, 2017
Got any questions? Feel free to ask in the comments or DM me on Instagram.


Brilliant guide to taking sharp and clean shots! I’m going to try out the settings you mentioned. Thanks!!
Thanks, Chloe! Let me know when your photo using stuff from this blog post is up.